|
1962 Chrysler Dash Pad Install
Kurt Brueske writes:
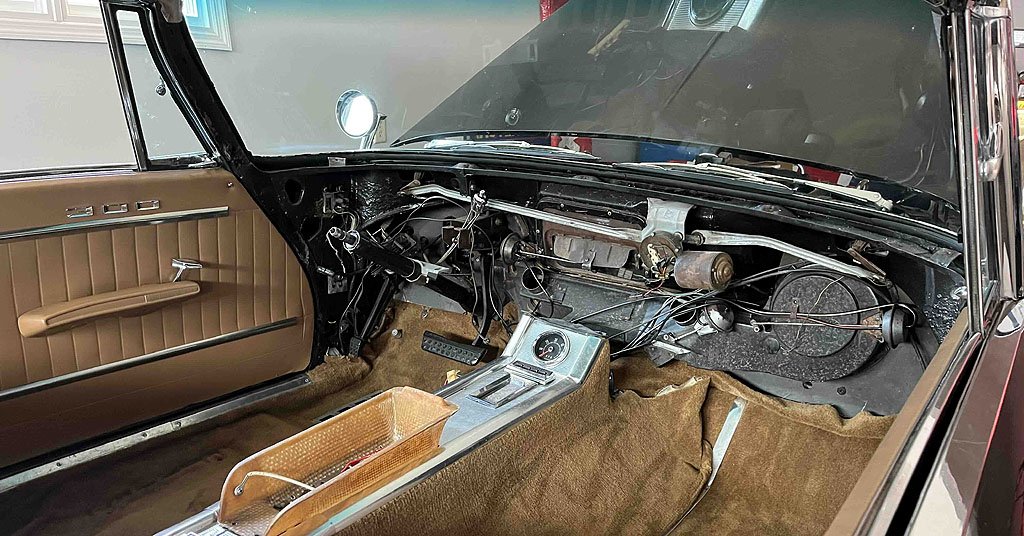
I replaced the dash pad on my 62 Chrysler about a year or so ago. It was purchased from RD Autoline. I've attached a couple of pictures for you and have a few recommendations:
- Removing the entire dashboard is recommended. I created a harness out of 2x4s (idea from Carelton Schroeder), t-shaped, with carriage bolts
 to secure the dashboard and fastened to a table with clamps to get it up at eye level and to ease front/rear access. While the dash is out, it also affords you an opportunity to get access to the blower box, wiper arms, and things fastened to the interior cowl that are difficult to get to while the dash is in the car. It also helps you access radio, heater controls, instrument cluster, etc. from the rear.
- I didn't have a lot of adhesive to remove from the metal core once the old pad was removed, but you likely want to remove any residual material if it present.
- You will need to remove the metal strip with tangs that is on your old pad where it fastens to the metal core just above the glove box core and attach this to your new pad - my RD Autoline pad didn't have this and you'll need it to secure the pad above the glove box.

- You will need to pre-install the cast pot metal astradome shield before you attempt to set the new pad in place...maybe it is possible to do this afterwards but I don't think so or, at a minimum, it will be difficult.
- Make sure that you fit the pad to the metal core before you install with metal tangs or cut any of the excess vinyl cover. My unit had excess padding and wouldn't seat correctly around the transmission or heater control bezels, I made the mistake of cutting excess vinyl and ended up with a gap. I brought this issue to the attention to RD Autoline and they recommended I use a cheese grater, or something similar, to remove excess foam...unfortunately, I had already installed and secured the metal tangs through the base and didnt' want to remove and reinstall as the metal tangs are sharp and can easily scratch your dash paint (ask me how I know). Consider wrapping the metal tangs with painters tape to reduce risk of scratching paint.
- Make sure that all your instruments, accessories, wiring harness, speaker grill cover, and if you have A/C, the adjustable rotating vents are installed as these will be very difficult to install after the dashboard is in.
- Recommend removing the chrome A pillar molding to facilitate reinstallation of the dash board - more room to manipulate the dash and avoid scratching your chrome moldings.
- Have someone help you reinstall the completed dash board. You may want to remove the steering wheel and front seats to give you plenty of room to maneuver inside the car. Place something protective (moving blanket) over the console, have two people work the dash board into the car (enter from the passenger side) with one person slowly crab walking into the interior and rest one side of the dash board on the console temporarily while they climb over the console to the driver side. Once there, you can both manipulate the dash board into place. I found that by pre-installing the bolts near the kick panel, this allows you to initially set the dash board in place while you work to secure the small bolts (5-6 if I recall correctly) along the base of the windshield. Once in, you can reinstall the metal finishers near the base of the windshield.
|