|
AstraDome
Amp Gauge Problem and Repair
By
Dave Mason
Symptoms:
Smoke
from somewhere around instrument cluster.
Gauges
reading all the way high.
Troubleshooting:
Because
the gauges were reading all the way high, I was prompted to inspect
the grounding. The original ground wire looked burnt. I checked
continuity of Astradome gauge housings to ground and found they were
not grounded. I disconnected the battery, made a new ground wire,
installed it, checked continuity of housings to ground, and
reconnected the battery. More smoke. I disconnected the battery
again, inspected the new ground wire and found it to be burnt.
Because the heavy gauge wire feed to the amp gauge is always hot, I
suspected a problem here, and checked continuity of amp gauge voltage
feed posts to ground and found continuity. This meant that the hot
feed to the amp gauge was being grounded out which made sense to
explain the burnt ground wires.
Repair:
Upon
removing the amp gauge and inspecting it more closely I looked for
any place that carries voltage that should be insulated from the
housing.
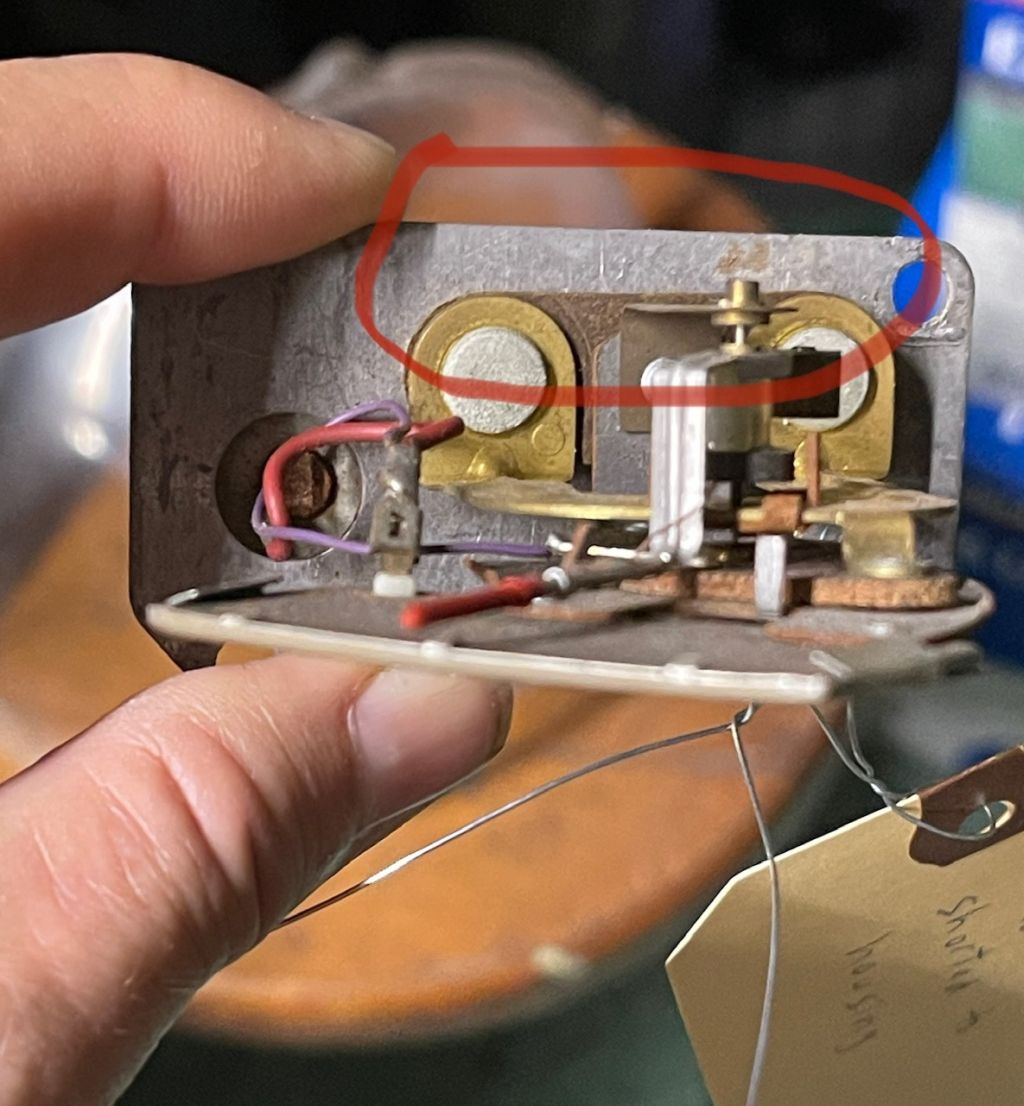
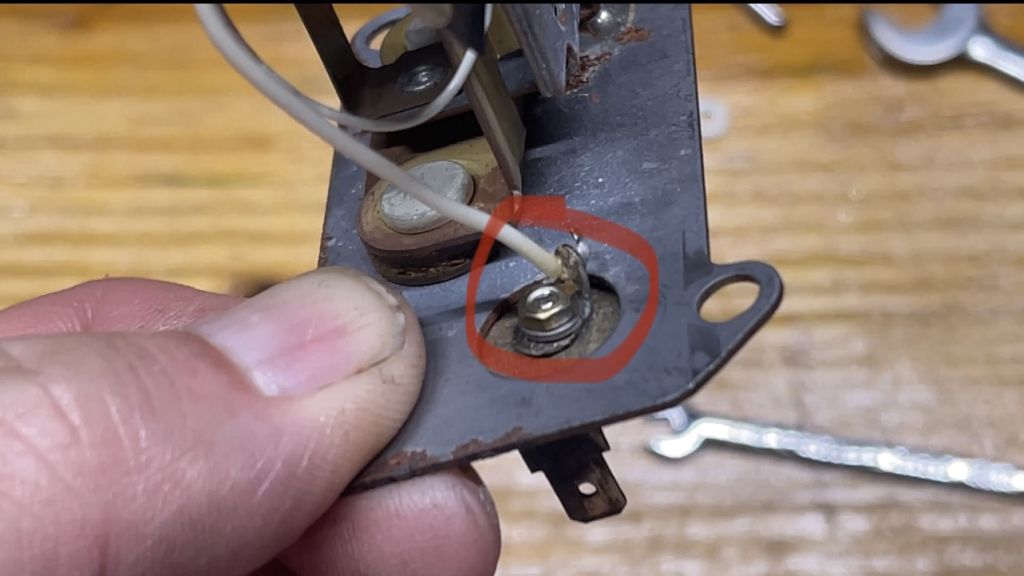
The
threaded posts are essentially a pass-through of current flow (in one
and out the other), and the gauge indicates direction of current and
relative amount. Therefore the gauge housing (designed to be the
ground) must be insulated from any part of the gauge which touches
the hot voltage. Here are the points which need to be insulated:
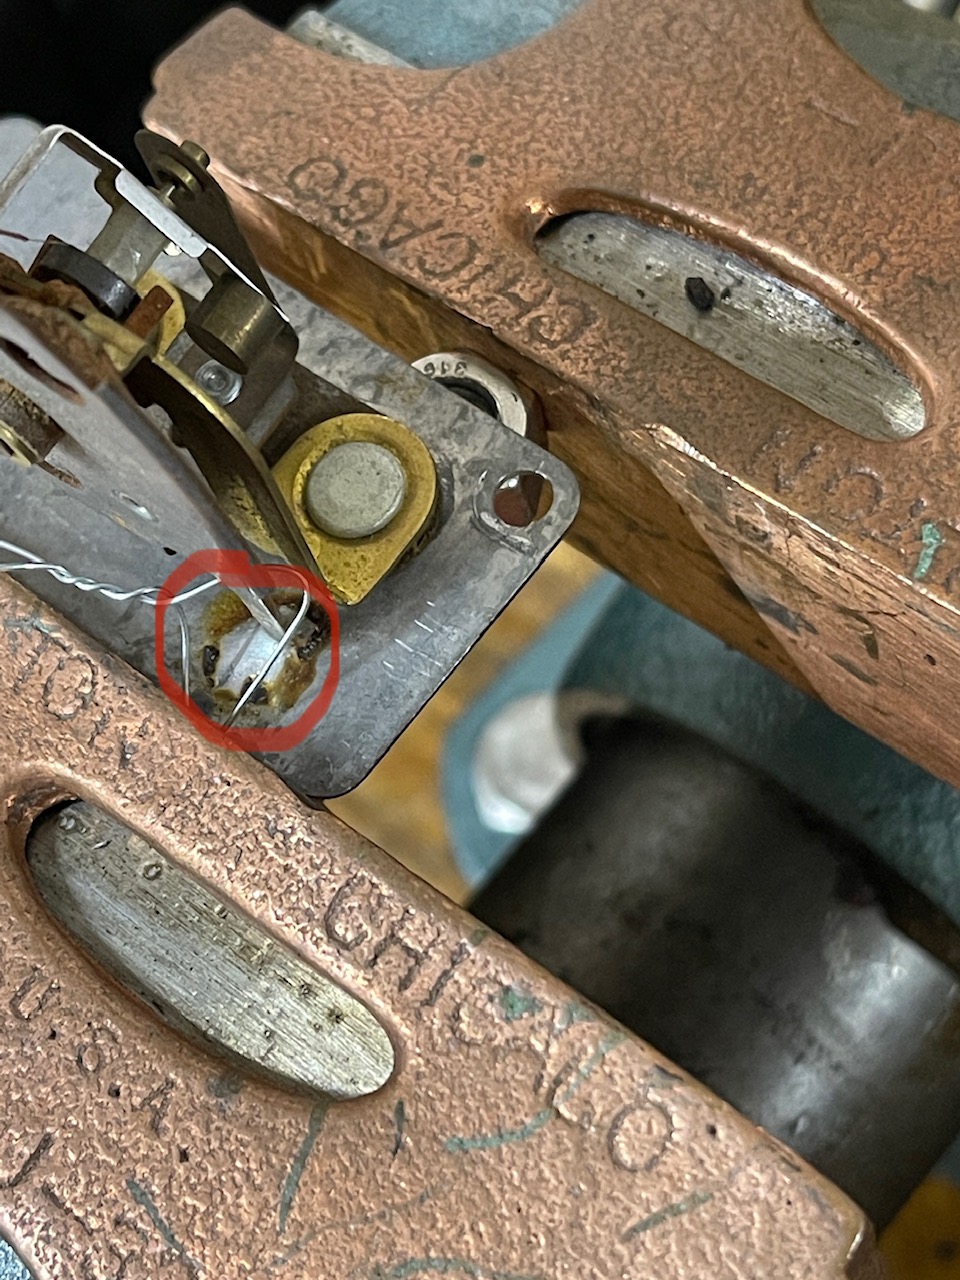
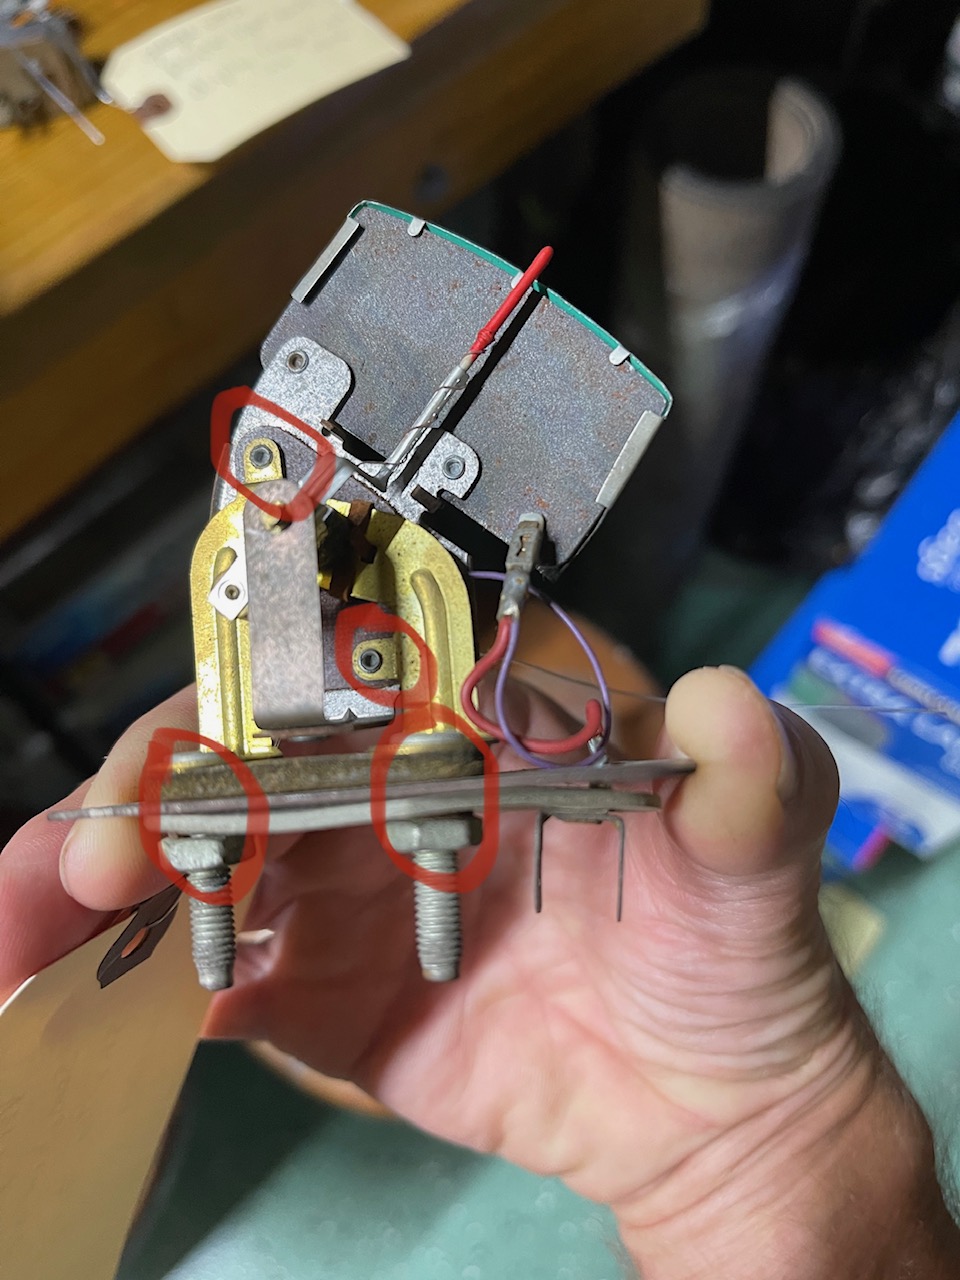 There
was no visible problem to be seen here except
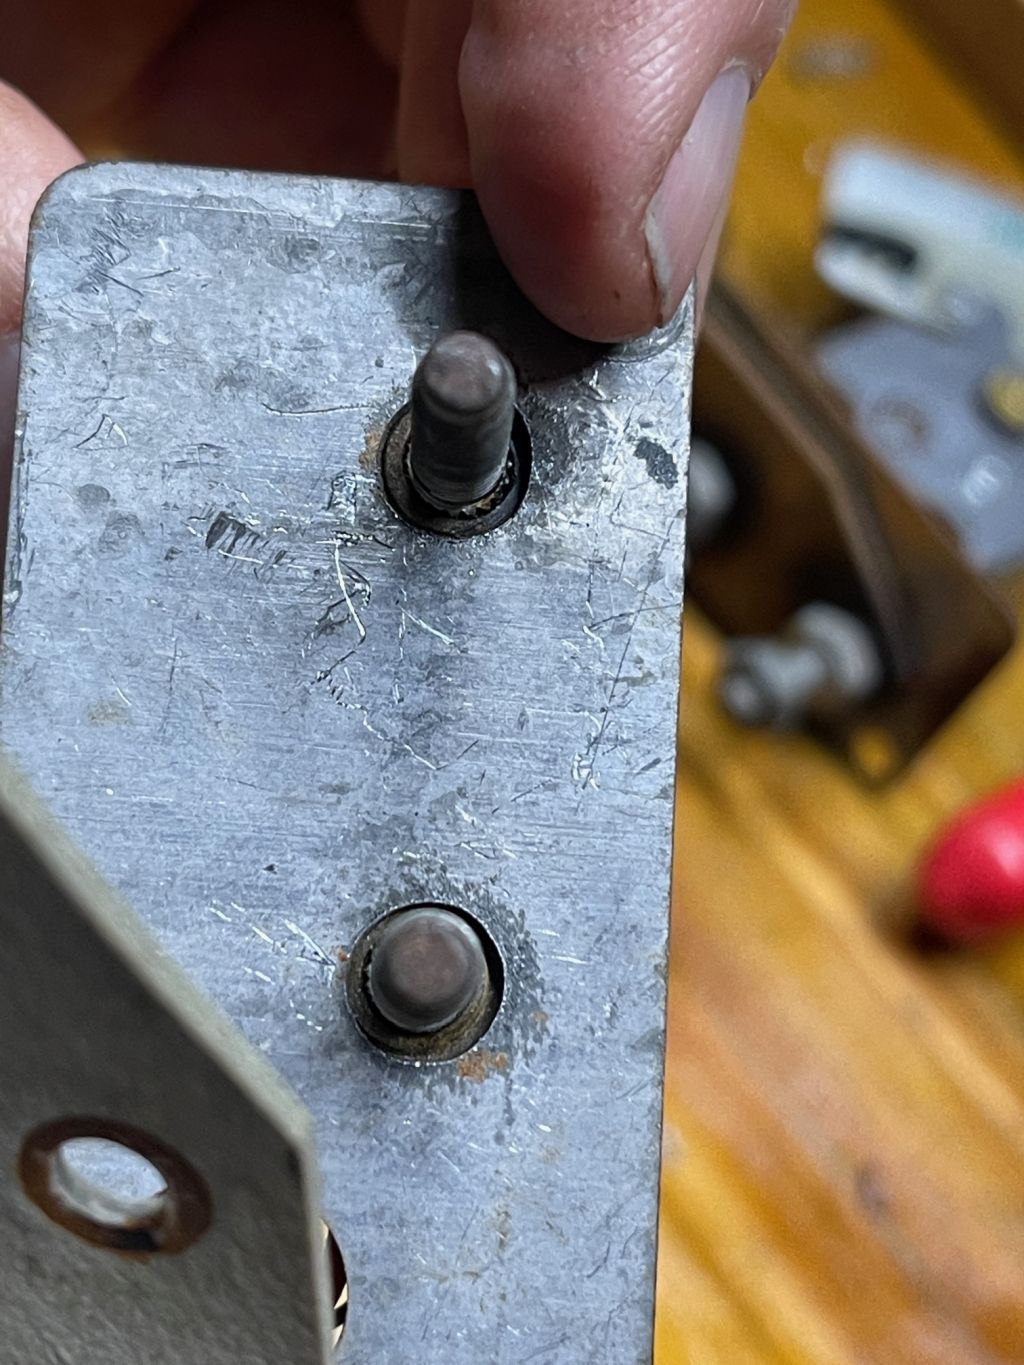
I
therefore needed to get a better look into this area. So
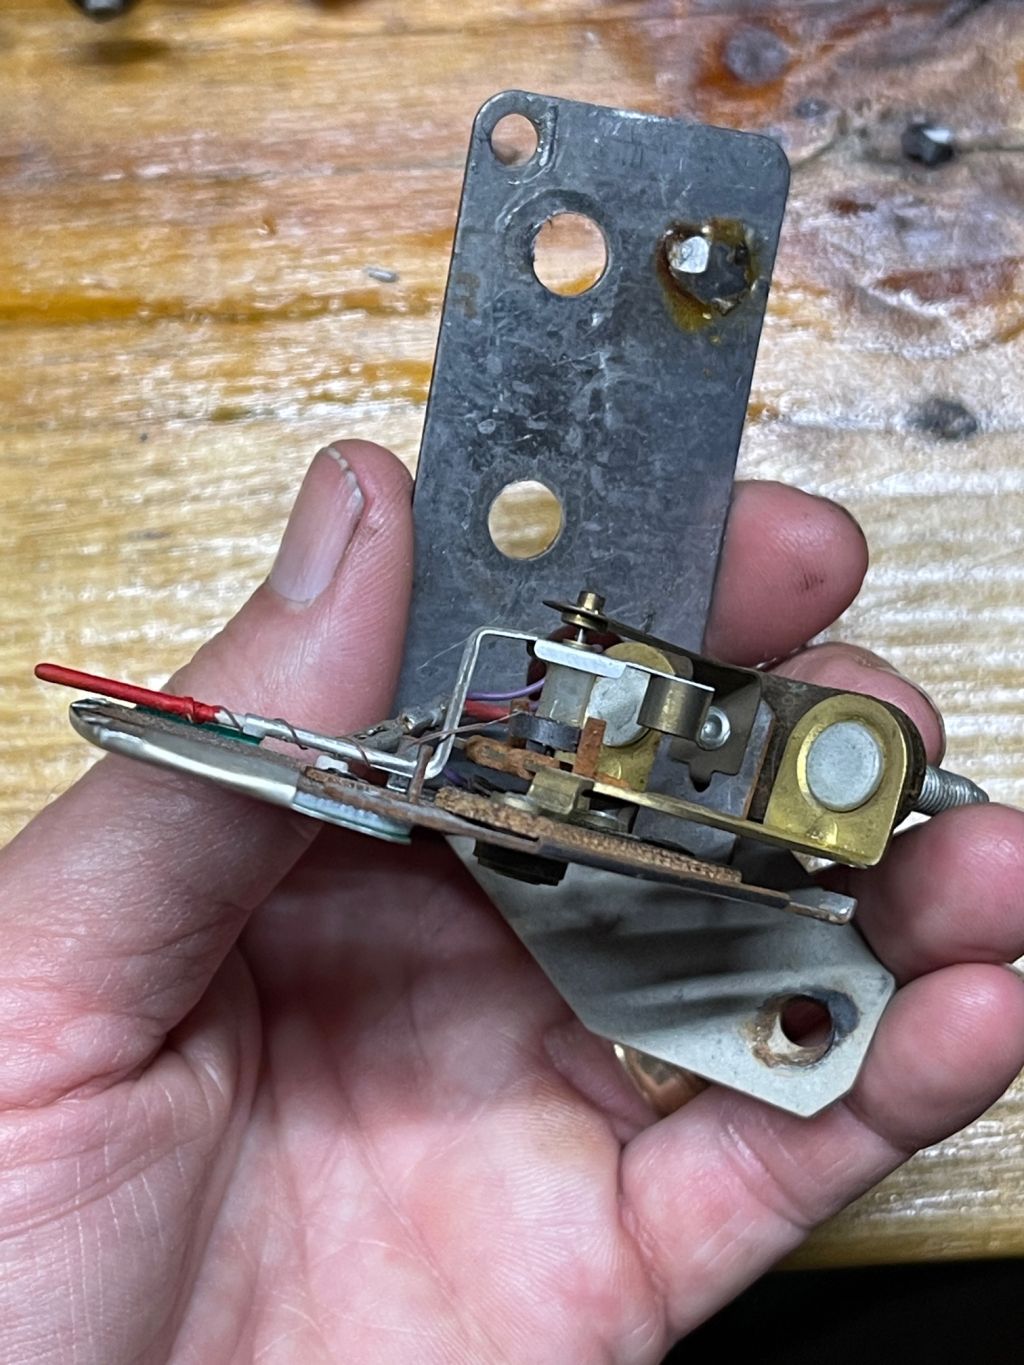
this post needed to be pushed away from the housing. After
straightening the posts and looking closely, although they were now
pretty well Note:
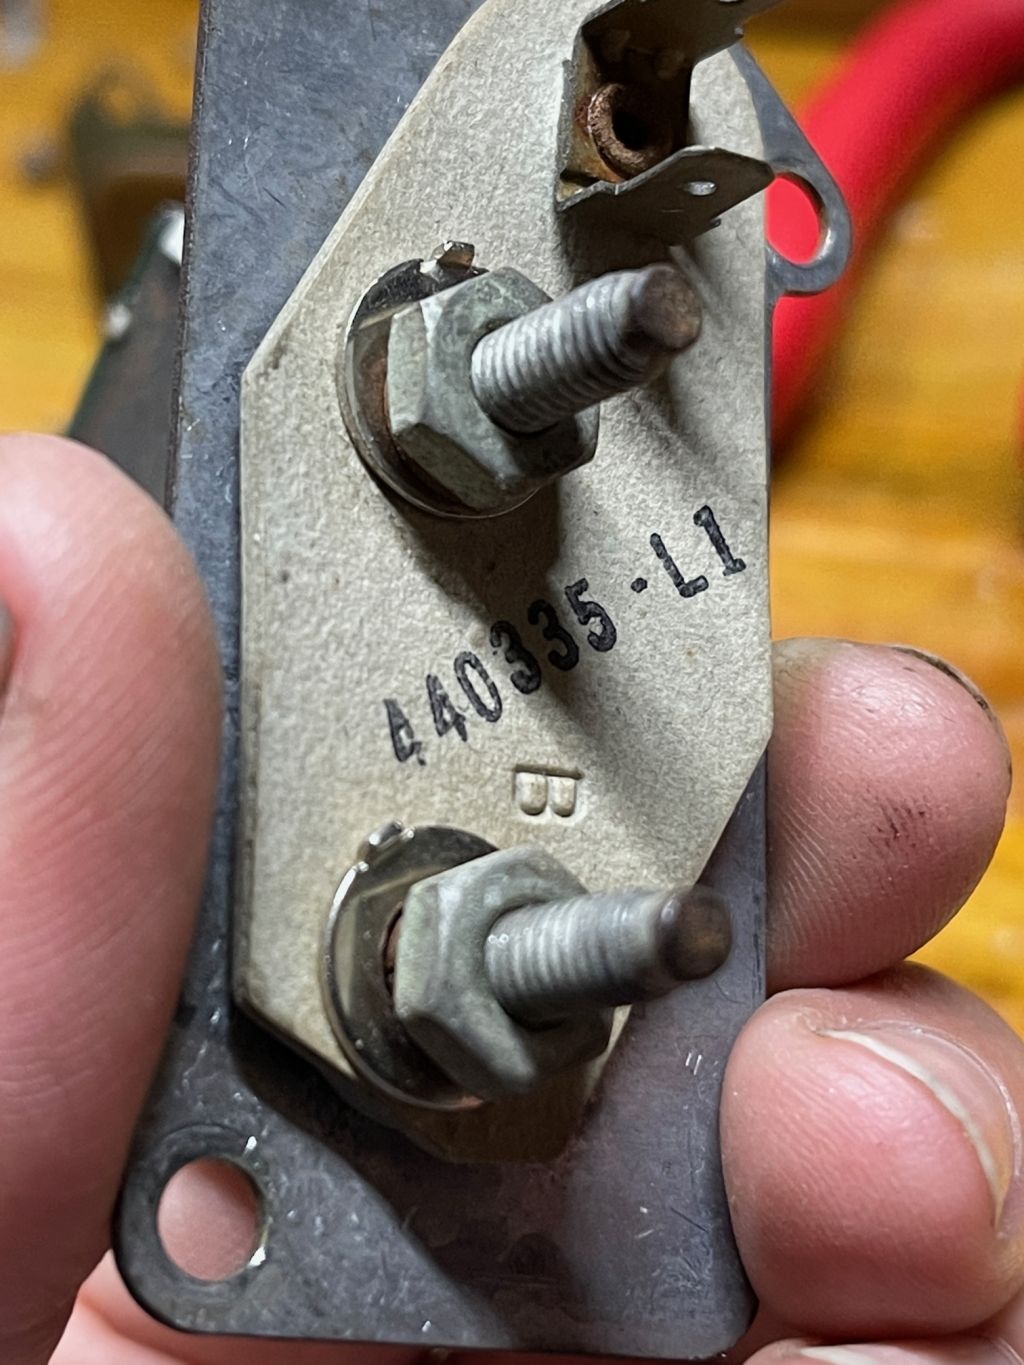
I did not need to unsolder the After
enlarging the post holes a little I reassembled and resoldered the
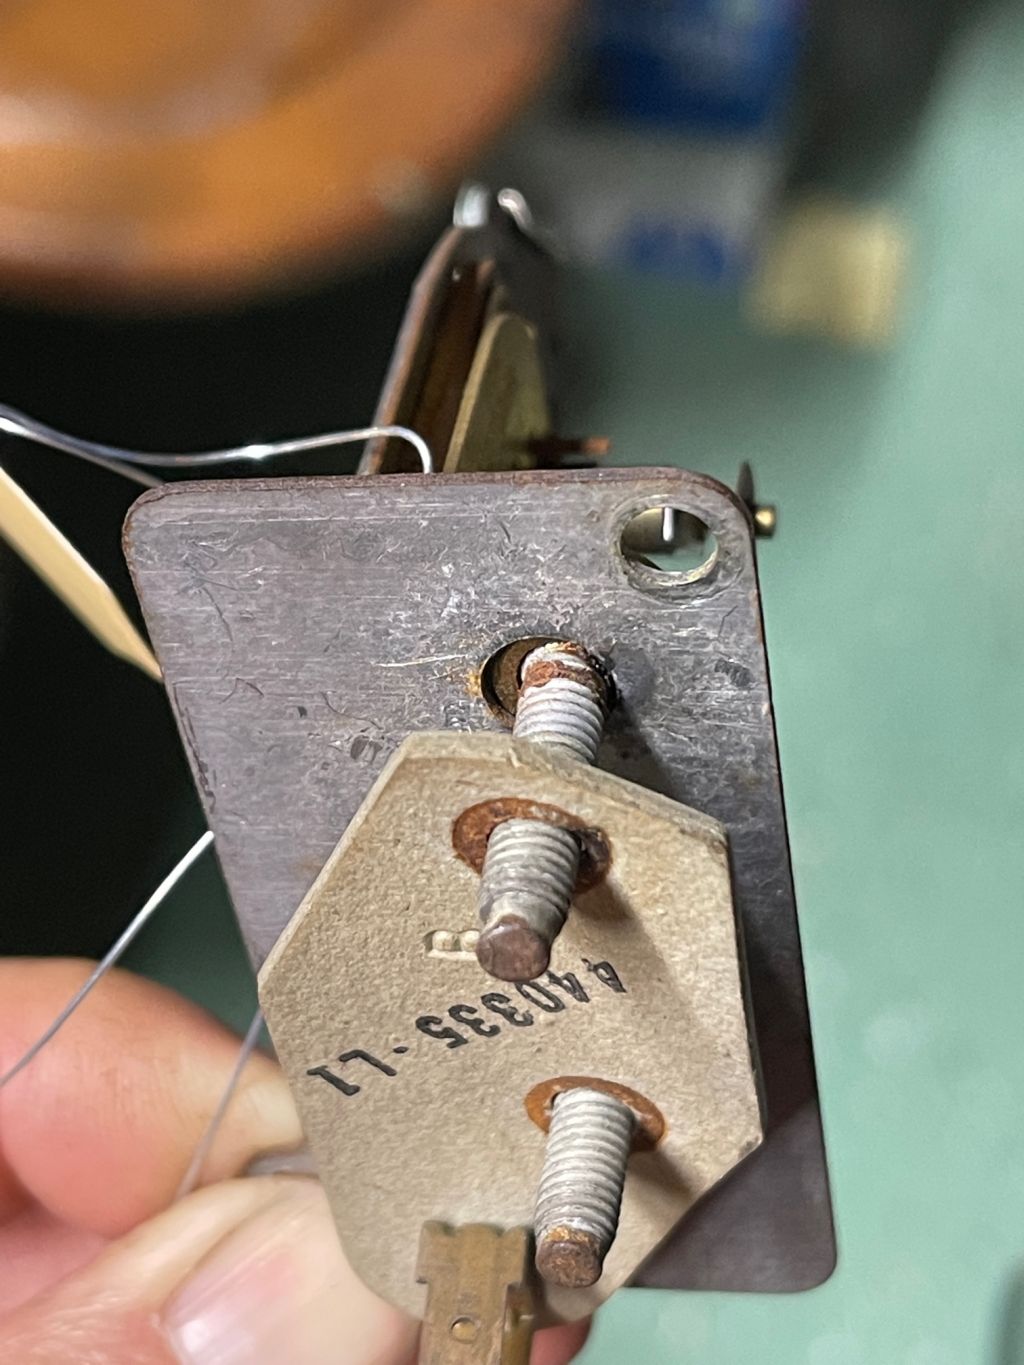
joint. Because
there are metal split ring washers pressing directly on fiberboard, I
added some flat stainless washers to prevent a metal split ring edge
from digging into the insulating fiberboard:
Snugged
up the nuts carefully and re-checked continuity between the
|