by Dave Dumais January, 2019
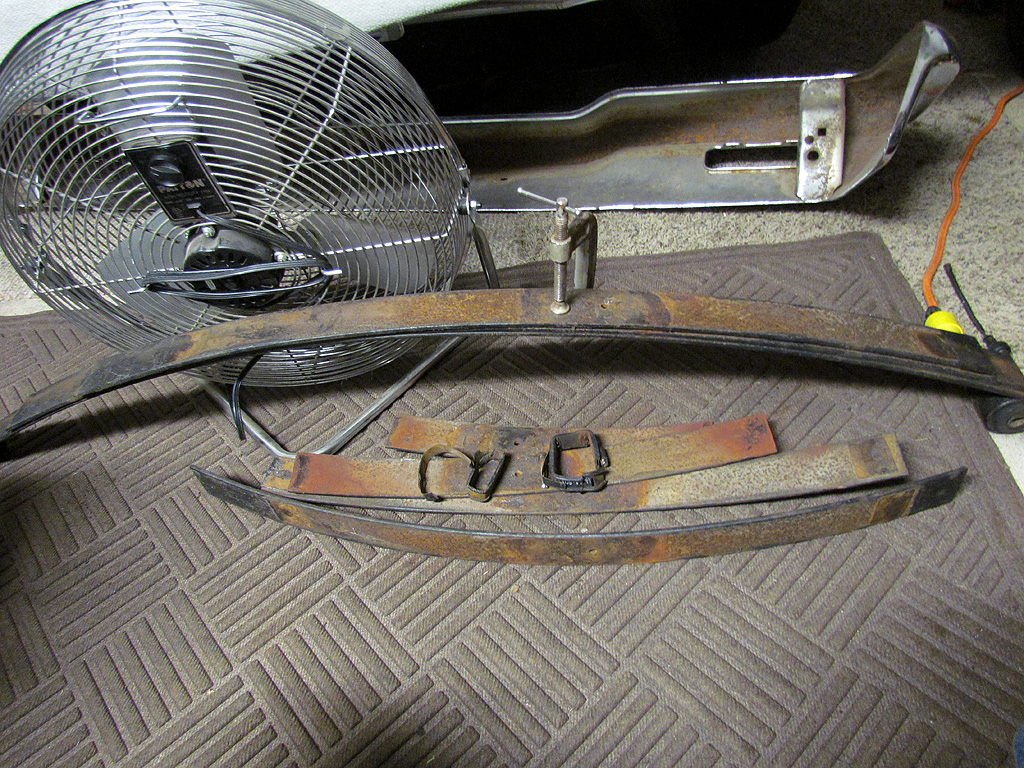
Disassembly of spring
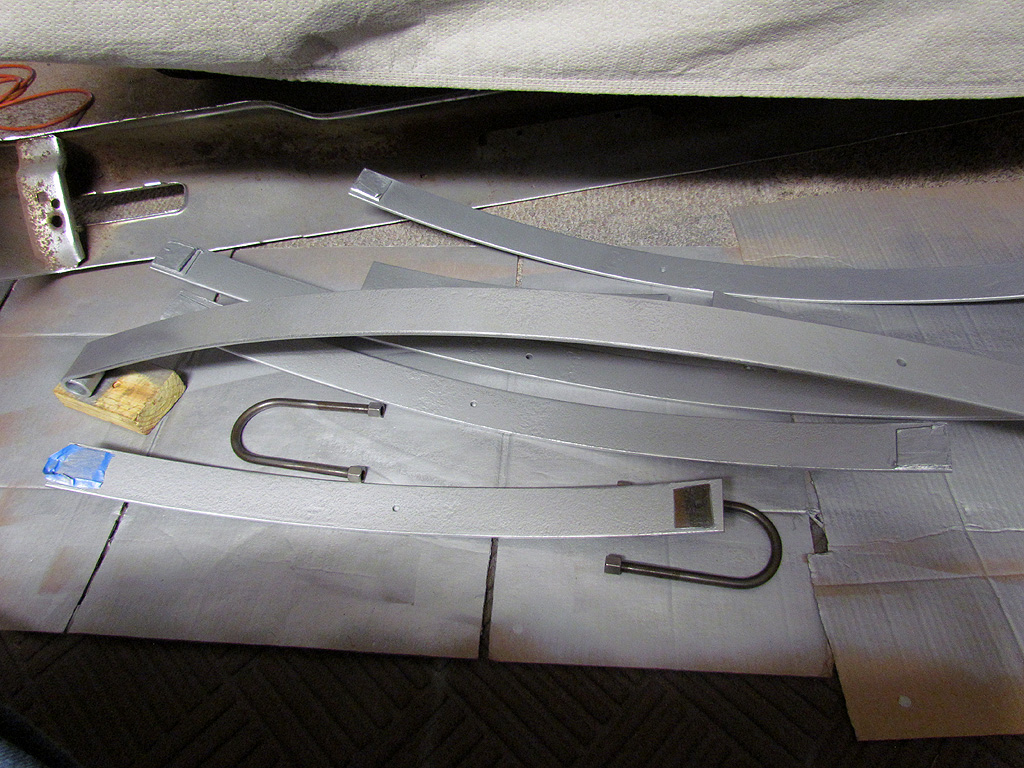
Leafs blasted & primed
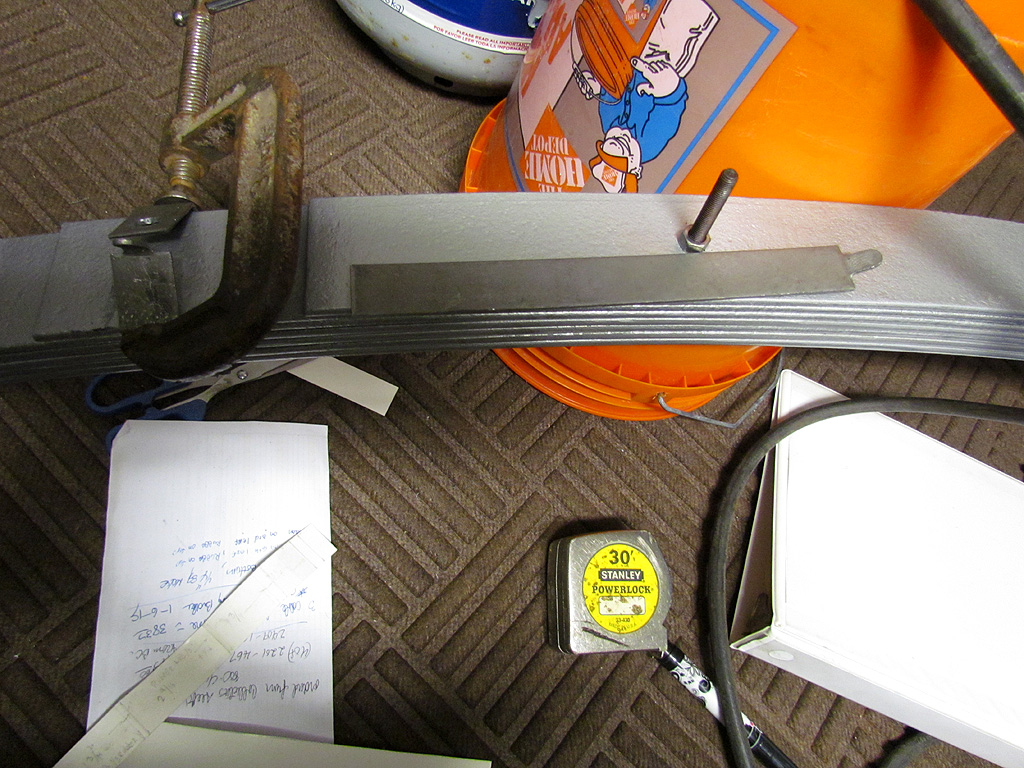
Eaton clips & thru bolt
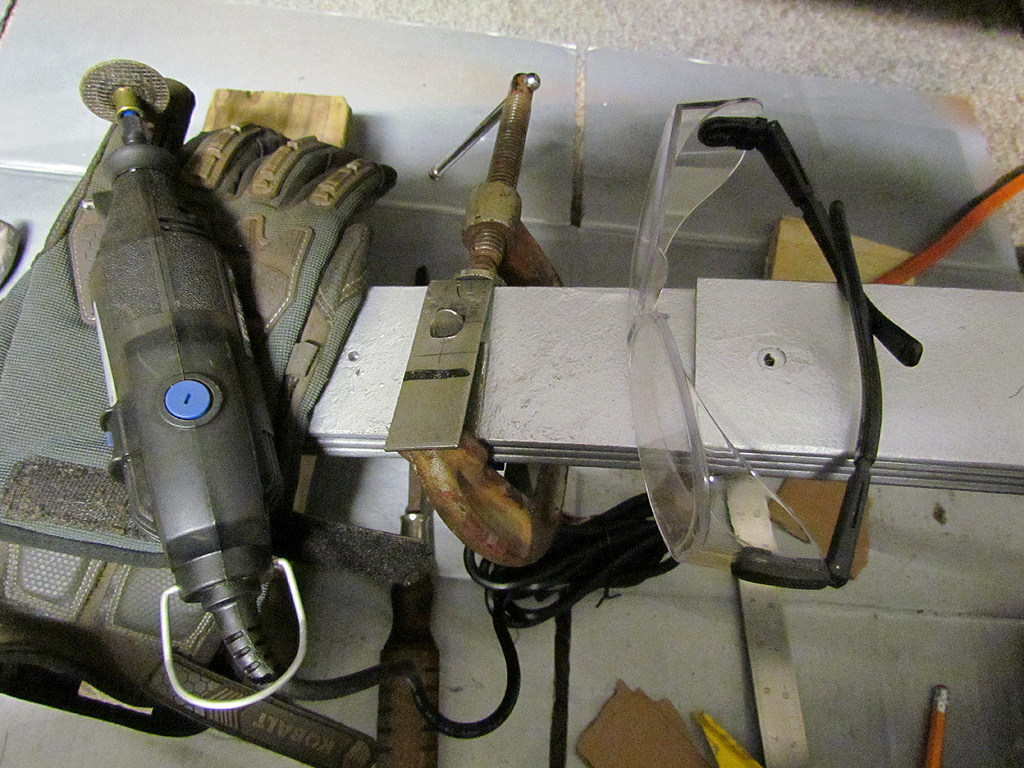
Safety first
Fabricating front Eaton clip
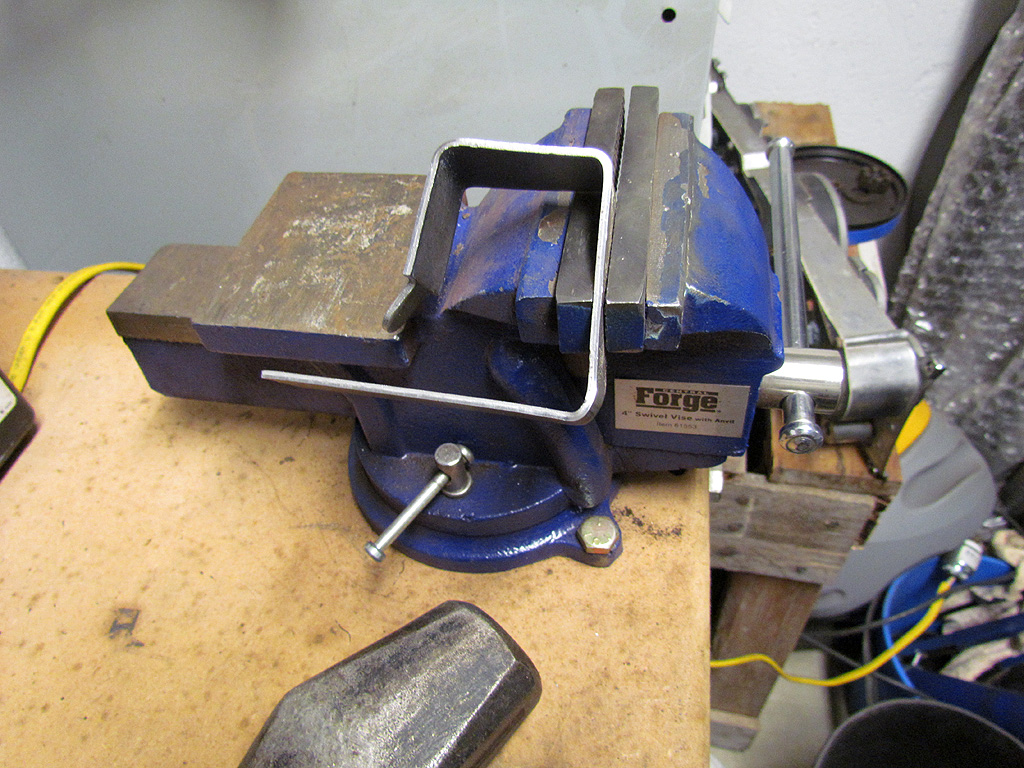
Flanging clip in vise
Trim excess length
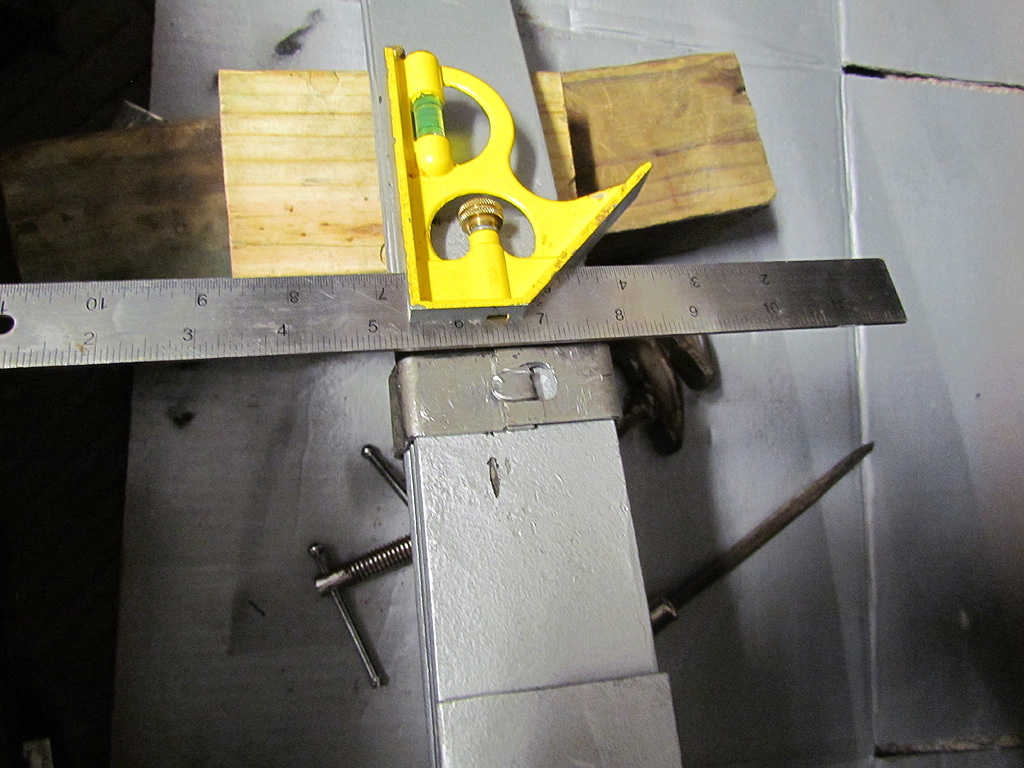
Checking squareness
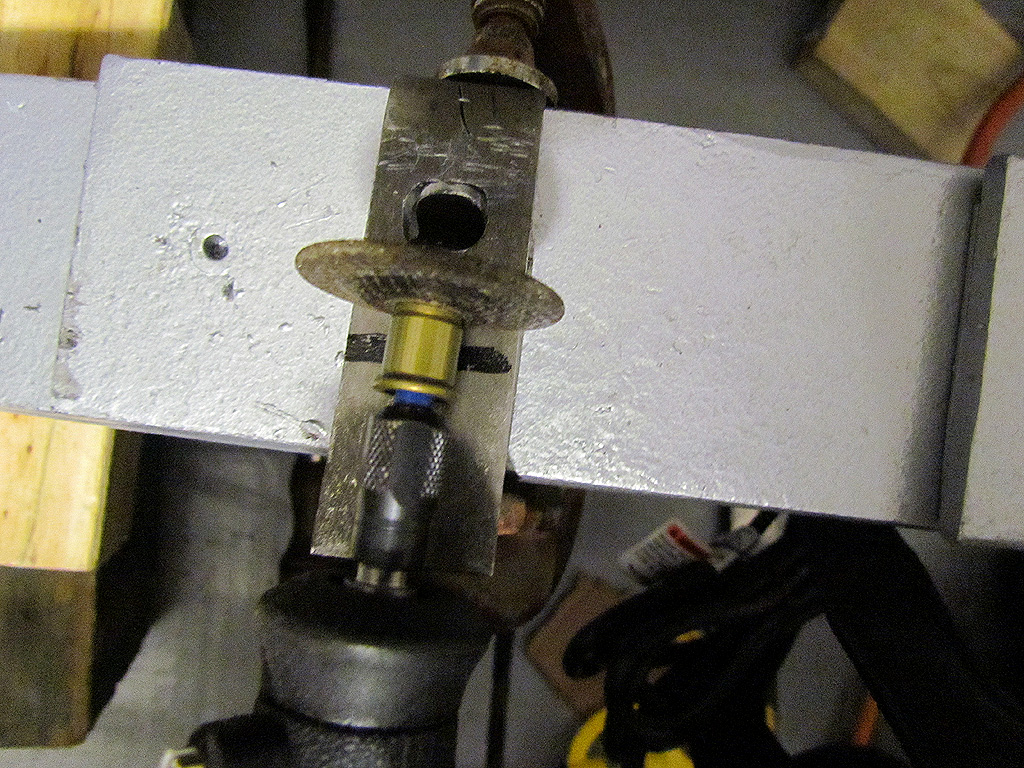
Securing clip
Final squeeze on clip
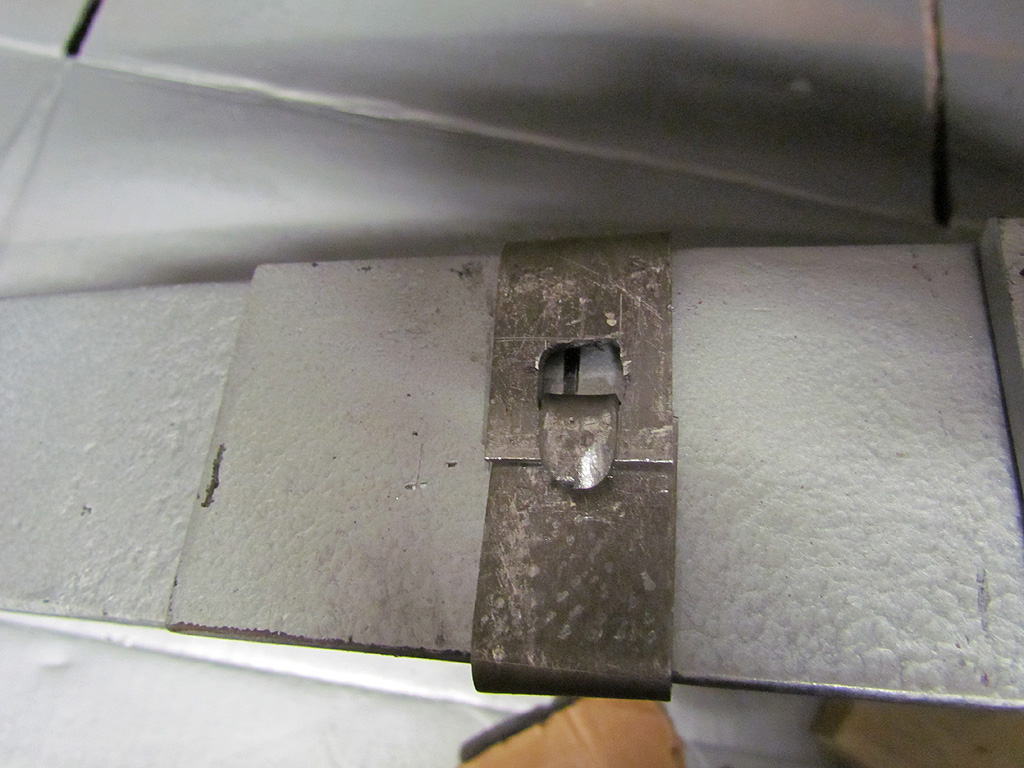
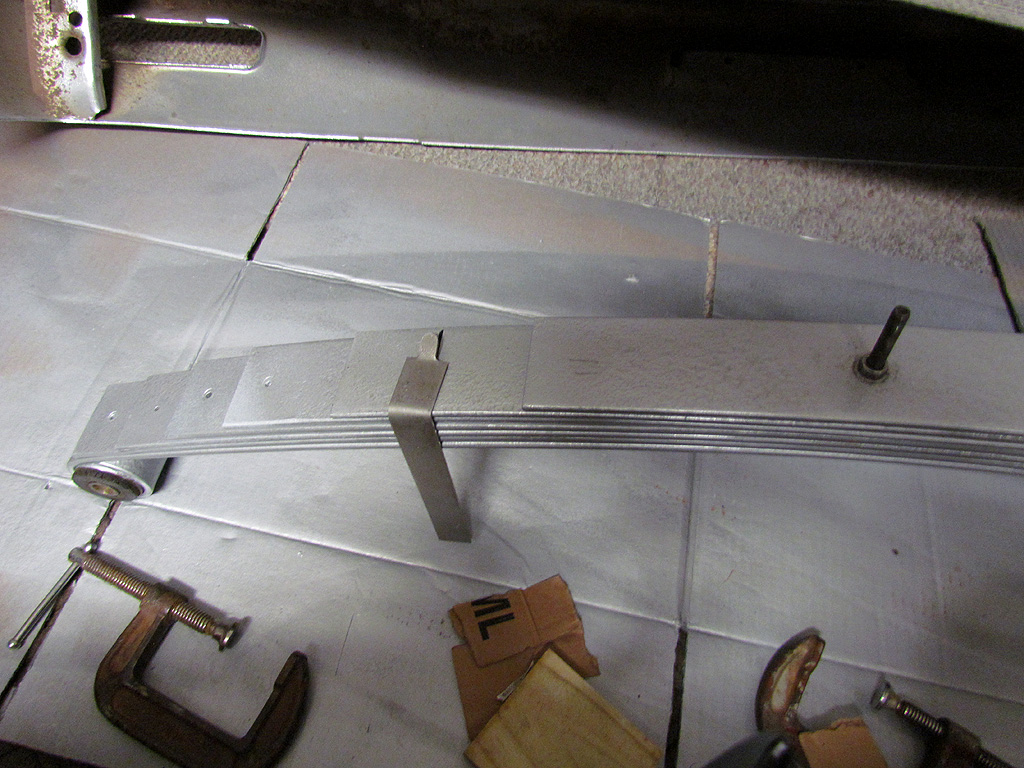
Clip in place
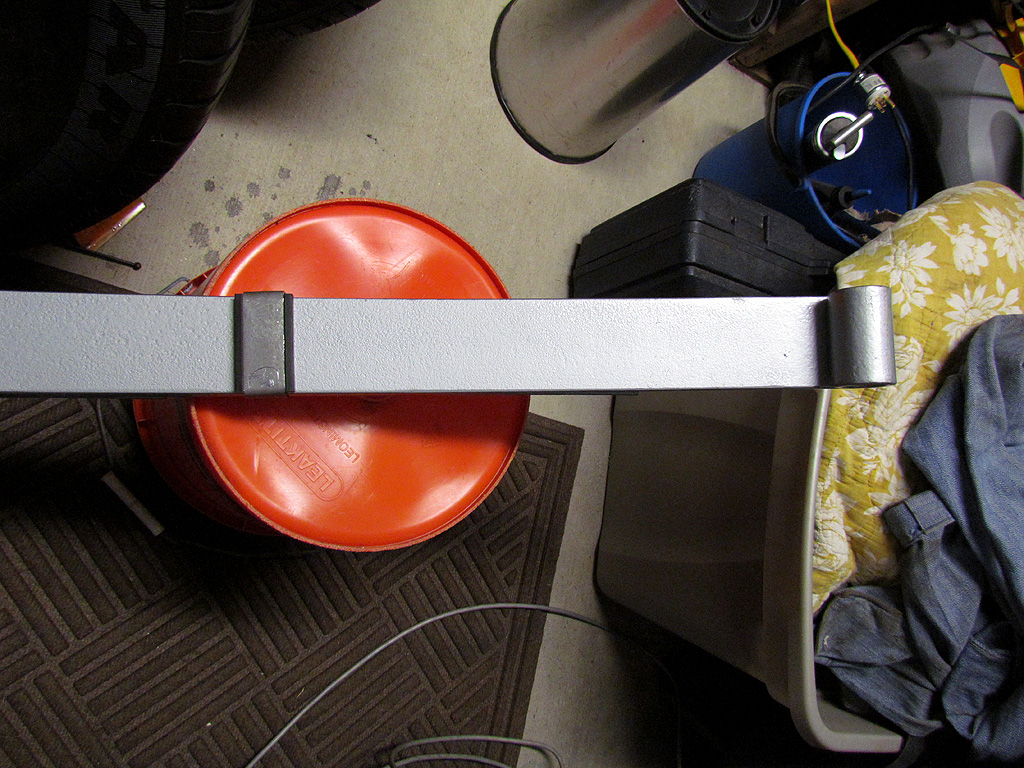
Completed rear clip
The leaf clip are 1/8" mild steel flat bars with tabs on end.
They are easy to flange in a small vise. I used a combination square with an awl in it's base for scribing flange bend lines, and also as a straight edge.
The spring is 2 1/2" wide, front and rear vertical thicknesses differ.
Scribing the line gives a good reference mark for the bend.
Add 1/8" for inside bends ( thickness of clip/bar).
If a wrong bend is made,the bar can be easily straightened.
When fitting clips to springs, the ends have to be spread so it can slide into position with Insulator installed. Be careful not to pinch this rubber strip.
The tab needs a square hole. I used a 3/8" drill to begin hole, then squared corners with tapered burr bit. (safety glasses needed)
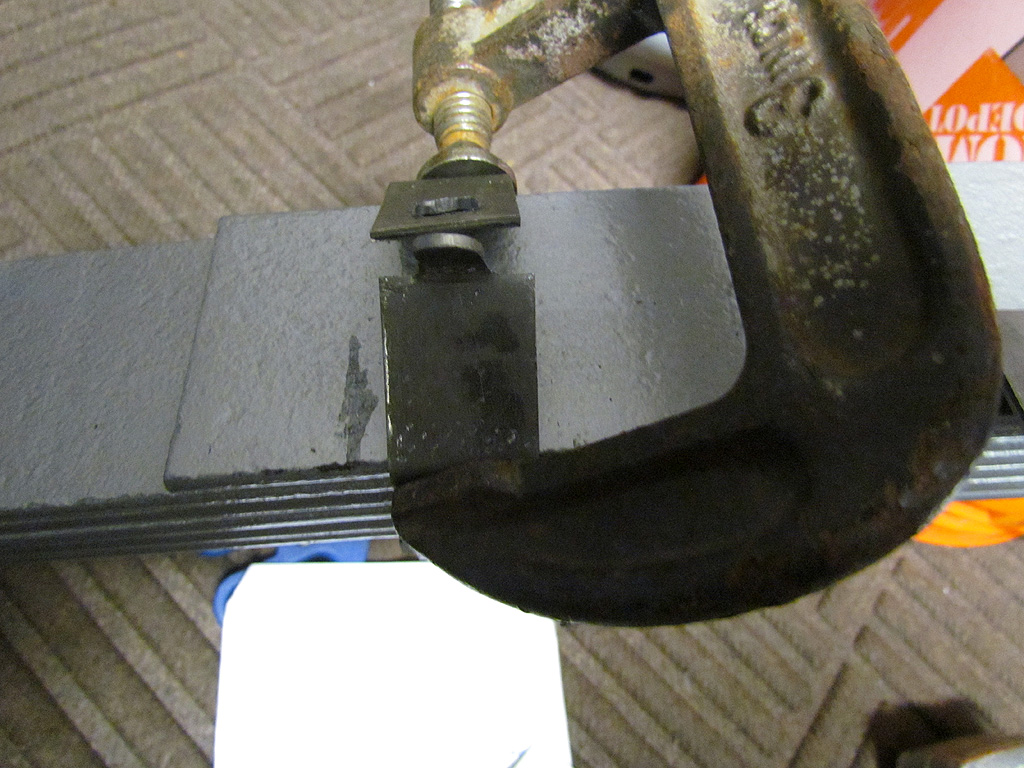
Final fit needs medium C clamps to hold each clip in place, and to square off ends to leafs. A hammer and brass punch can help to even out bows.
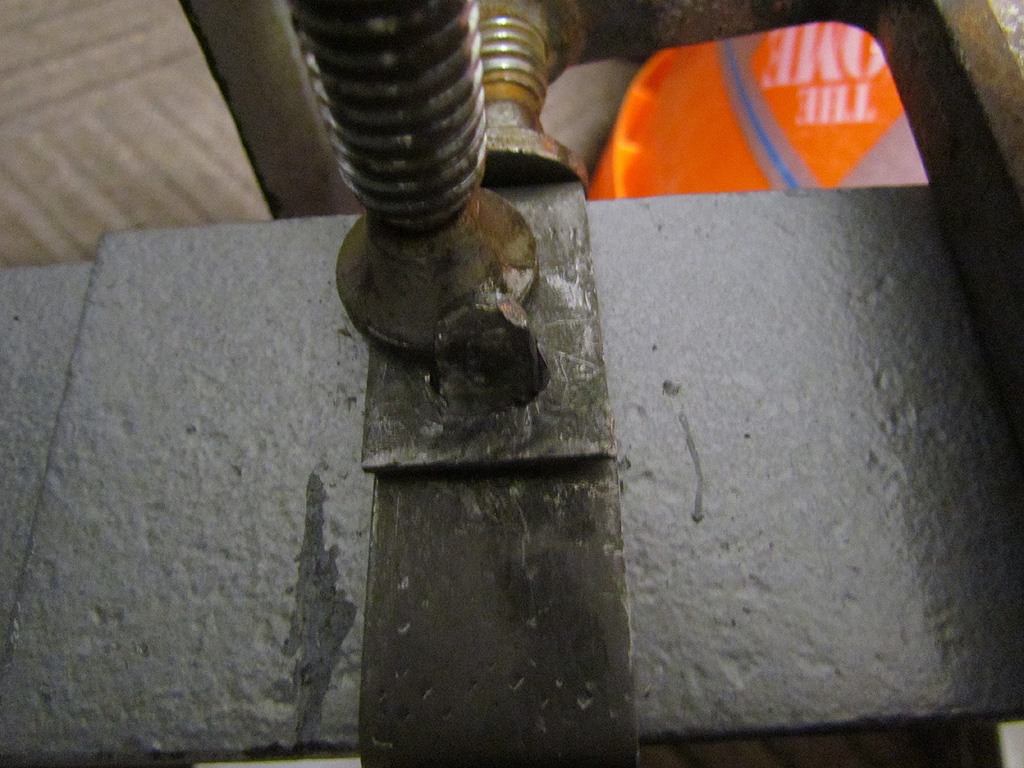
The tab is bent by tapping it in hole, and over the opposite end, pulling clip tight. Check alignment and tap with small ball peen hammer if needed.
If hole is correctly located, the clip will pull bar stock over length and widths.
Touch up of silver paint may be needed, check edges of Insulator for pinches.
Apply clear coat to finished clips to prevent future rust.