|
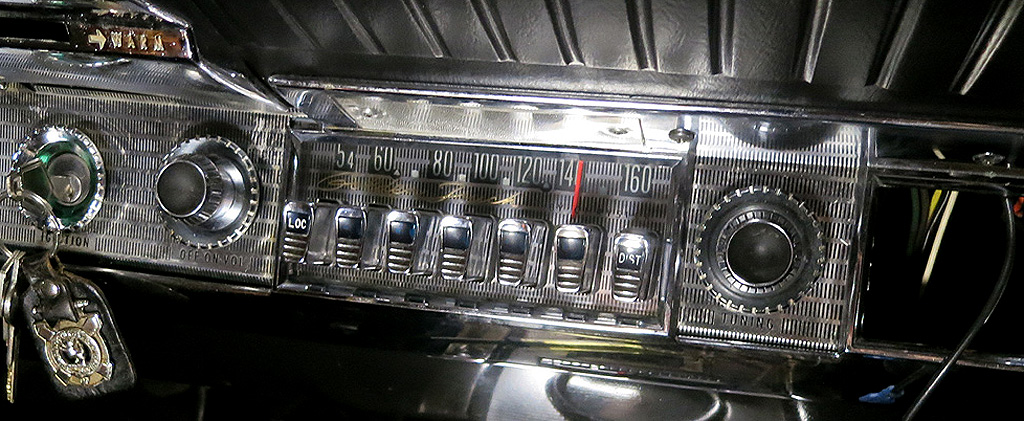
Seven Button Radio Conversion
by Bill Elder
When I purchased my G, the radio
made no sound and would not light up. Upon investigation of the fuse
block, I discovered that the radio fuse was intact. Bad News! When
I removed the speaker grill, I thought that there was no speaker
present. The speaker cradle was empty, but the speaker was sitting
on top of the radio, with its magnet holding it in place. One of the
speaker leads was broken off at the terminal block. According to the
service manual, the lack of a properly connected speaker would cause
internal electrical components to fail. I knew that the radio
needed a rebuild.
The search for a shop to restore the
radio was on, but I enjoy my music and I suppose that driving brand
new cars with their multi functioning entertainment centers has
spoiled me. I decided to at least explore the opportunity to have a
full radio conversion done to the seven button. Being Canadian, I
started out doing on-line searches of radio shops in Canada that
dealt with vintage radio repair shops. The primary reason for this
was the current weak Canadian dollar, approximately $1.35 CDN to buy
1 US dollar. Shipping cost of receiving goods from the US is also
through the roof and import taxes would be added.
My Google search lead me to a
website for Classic Car Radio Restorations. My first impression,
upon opening their web site, was very positive. The radio displayed
was an early 1970’s Plymouth, thumb wheel radio. I read
through their literature regarding the radio portion of their
business and also learned that they repaired and restored complete
heater box units for Mopars and supplied replacement face plate
decals for various Mopar gauges.
The next step was to call them for a
discussion about my ultra rare 7 button radio with
electroluminescence lighting. When I talked to their representative,
Brian, on the phone, I thought that he would be head scratching and
expected to hear a “What kind of radio?” Instead, I
heard, “Yes, I know them, as a matter of fact, I have a 62
Chrysler 7 button radio in our shop right now.” I also asked
him about the electroluminescent lighting and again he said that his
shop could handle any repairs. Their shop is an authorized and
factory supported integrator for Aurora Electronics. Aurora seemed
to be a leader for supplying circuit boards that once installed,
would become the heart of the conversion.
After discussing what features could
be installed on the original radio, I decided to ship them my radio
on February 8. Brian had told me the turn around time would be 14
weeks. So, I was very pleased to receive my radio on March 23.
 First impressions are important and I was impressed by the obvious
care that the shop had put into protecting my radio for the return
trip.
First impressions are important and I was impressed by the obvious
care that the shop had put into protecting my radio for the return
trip.
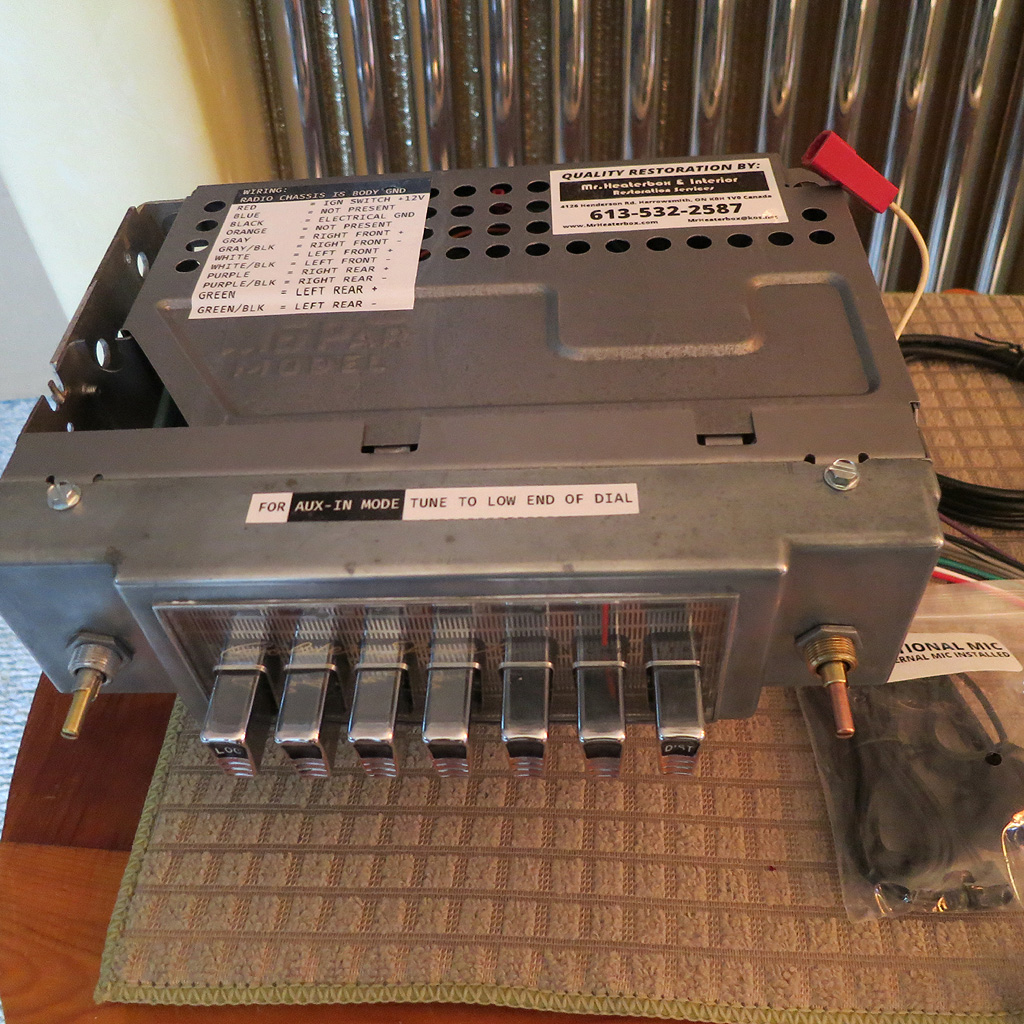
.JPG) It came sitting in a Styrofoam nest and carefully wrapped in
bubble wrap. The exterior of the case was cleaned to as new
condition and every screw was new. Besides a multi page operator’s
manual, there were four other sheets including a radio delivery
sheet, which was a check list of the functionality of the radio both
before and after a 48-hour bench test. There was also a 2-year dated
warranty as the last item. Next was a radio restoration QA check
sheet. The top section listed all of the new features installed on
the radio, below that there are 28-line items listing in detail all
of the steps that were taken during the restoration. This was signed
and dated at the bottom. The next sheet had a large red stop sign
emblazoned on it. The warning was for using an improper antenna with
the FM section of the radio. This was not mentioned on our initial
discussion. This G is the first car I have ever owned with a rear
mounted power antenna. There was no way that I was giving that up.
It came sitting in a Styrofoam nest and carefully wrapped in
bubble wrap. The exterior of the case was cleaned to as new
condition and every screw was new. Besides a multi page operator’s
manual, there were four other sheets including a radio delivery
sheet, which was a check list of the functionality of the radio both
before and after a 48-hour bench test. There was also a 2-year dated
warranty as the last item. Next was a radio restoration QA check
sheet. The top section listed all of the new features installed on
the radio, below that there are 28-line items listing in detail all
of the steps that were taken during the restoration. This was signed
and dated at the bottom. The next sheet had a large red stop sign
emblazoned on it. The warning was for using an improper antenna with
the FM section of the radio. This was not mentioned on our initial
discussion. This G is the first car I have ever owned with a rear
mounted power antenna. There was no way that I was giving that up.
.JPG) I Googled proper antenna heights for FM radio reception and extended
my antenna to the prescribed 2.5 feet. I am not having any problems
in that regard and I am pulling in a lot of FM stations. The last
item was a detailed invoice.
The conversion to AM, FM, Blue Tooth
(which includes phone pairing with an internal and extension cord for
the microphone) and a USB port, cleaning the case, replacing all of
the wiring, rebuilding the volume, tone controls and tuning function,
polishing the face plate, and electroluminescent repairs for $1,025
CDN. Because the radio has the powered search function, I paid $200
CDN to have the search mechanism and motor rebuilt. To complete the
install, I purchased a pair of 4 OHM, 3-way speakers, with a max
output of 65 watts. The radio will support four, 4 OHM speakers or
two, 8 OHM speakers.
I Googled proper antenna heights for FM radio reception and extended
my antenna to the prescribed 2.5 feet. I am not having any problems
in that regard and I am pulling in a lot of FM stations. The last
item was a detailed invoice.
The conversion to AM, FM, Blue Tooth
(which includes phone pairing with an internal and extension cord for
the microphone) and a USB port, cleaning the case, replacing all of
the wiring, rebuilding the volume, tone controls and tuning function,
polishing the face plate, and electroluminescent repairs for $1,025
CDN. Because the radio has the powered search function, I paid $200
CDN to have the search mechanism and motor rebuilt. To complete the
install, I purchased a pair of 4 OHM, 3-way speakers, with a max
output of 65 watts. The radio will support four, 4 OHM speakers or
two, 8 OHM speakers.
I have included a picture of the new
internal circuit boards, besides the original search mechanism and
motor, there is not a lot to see. If you compare this picture to the
internal pictures from an original radio, (see the excellent article
for DIY radio repairs by Carl Bilter and John Grady), you will see
what I mean. I have an original 1951 Seeburg juke box and a re-pop
(late 80’s) Wurlitzer juke box. Both machines do the same job,
they play both sides of fifty, 45 RPM records. Inside the Seeburg,
there are three large trays, each filled with capacitors, wiring and
tubes. The case is entirely filled. Inside of the Wurlitzer, there
are a couple of circuit boards and that’s it. There is room to
store a suitcase inside. So, each to his own; this is like replacing
your old clock mechanism with a quartz movement or replacing your
original points and condenser with an electronic module.
|
.JPG)
.JPG)