While
I hoped to not need it, I also got a transmission pan gasket. The Fel
Pro for the C # is TOS 18333 and it’s available from RockAuto
or the chain parts stores for about $10. Additionally, you'll find an
O ring on the barrel of the shift cable. It might or might not be ok.
I couldn't find an on-line source and got one from a friend. Take
your old O ring to the auto parts store to match up for a
replacement.
In
the ideal situation, you release the cable from the transmission.
The release as well as the installing and adjusting the cable is detailed in the C
service manual on pages 279 and 287. Once you have the cable
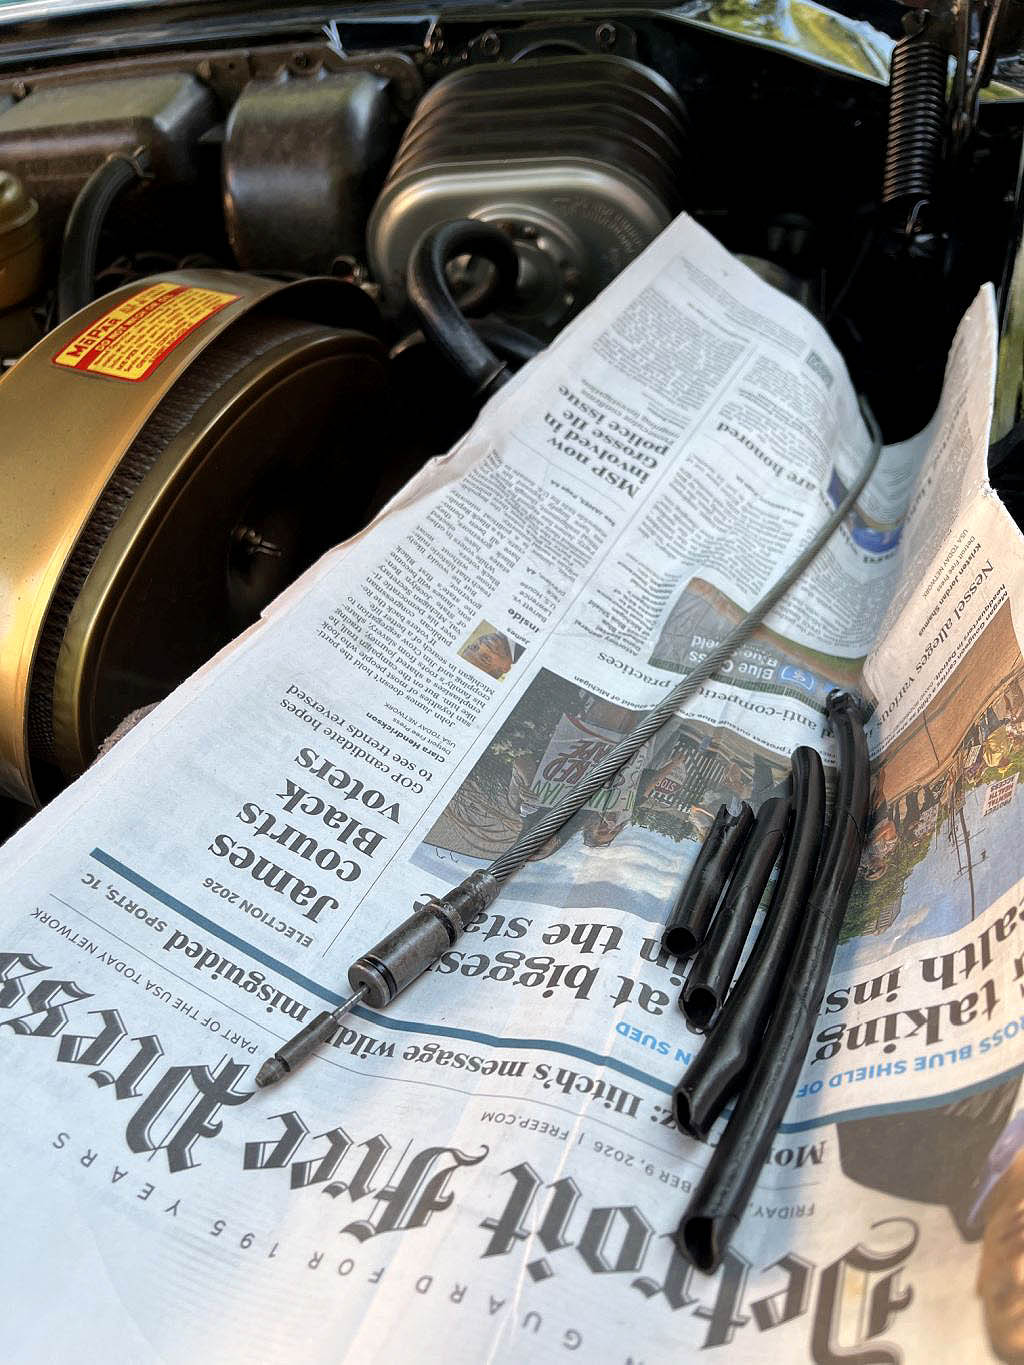
released, bring it up into the engine compartment, cut off the
insulation, clean the cable and install two layers of heat shrink
wrap. Reinstall the cable and adjust it if needed.
The "release the cable from the transmission" may be difficult. The manual says in order to
release the cable, push the “1” trans button, remove a
plug in the transmission, insert a screwdriver into the opening and
release the spring holding the cable in place. You may spend a month
with that screwdriver and never find the spring. If that happens,
remove the pan and the spring will be accessible. I think cast iron
torqueflites are largely the same. Don't have a manual? They can be
viewed here: jholst.net Chrysler 300 Resources Page. Bob Merritt has
an overview of the cable release at the club web site here.
For
me, the job started slowly and took 10 minutes of screwdriver poking
to get the cable released. Once released, it was easier to pull it up
to the engine compartment for service than try to work on it under
the car. Now I need to remove the old insulation on the cable. As a
general note, anything more than 20 inches out and up from the
transmission, the amount of insulation removed is only cosmetic. It
was convenient and easy for me to go a few inches from the firewall.
There's enough wrap included go the distance to the pushbuttons if
you want to go that far. Before installing the wrap, I cleaned the
bare cable with lacquer thinner. As a safety note, cover or
disconnect the battery so the cable does not contact a terminal.
There
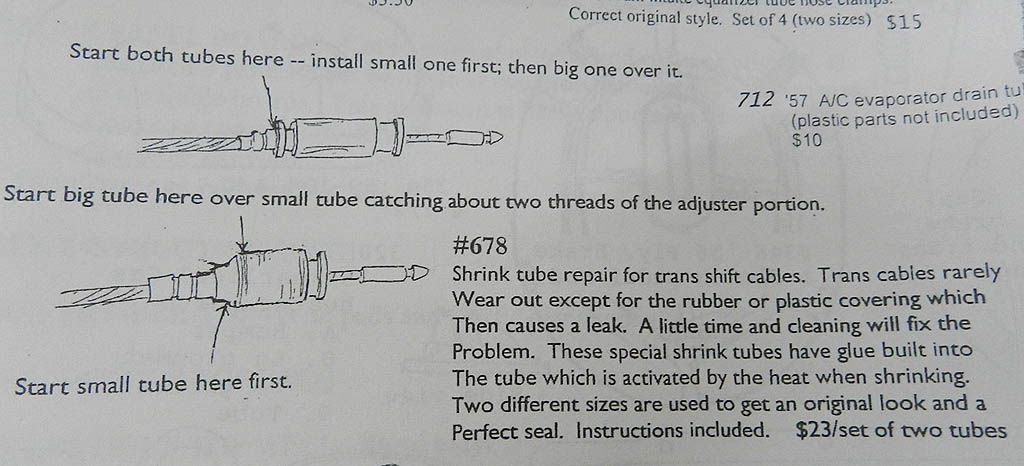
are two layers of shrink wrap to install. The smaller first layer is
snug going over the shift cable barrel and O ring. It was slow
working it to the firewall. The directions that come with the wrap
show the starting point on the barrel or see the last photo. I used a
heat gun to shrink it, but the directions say a hair dry works. The
second layer was also snug.
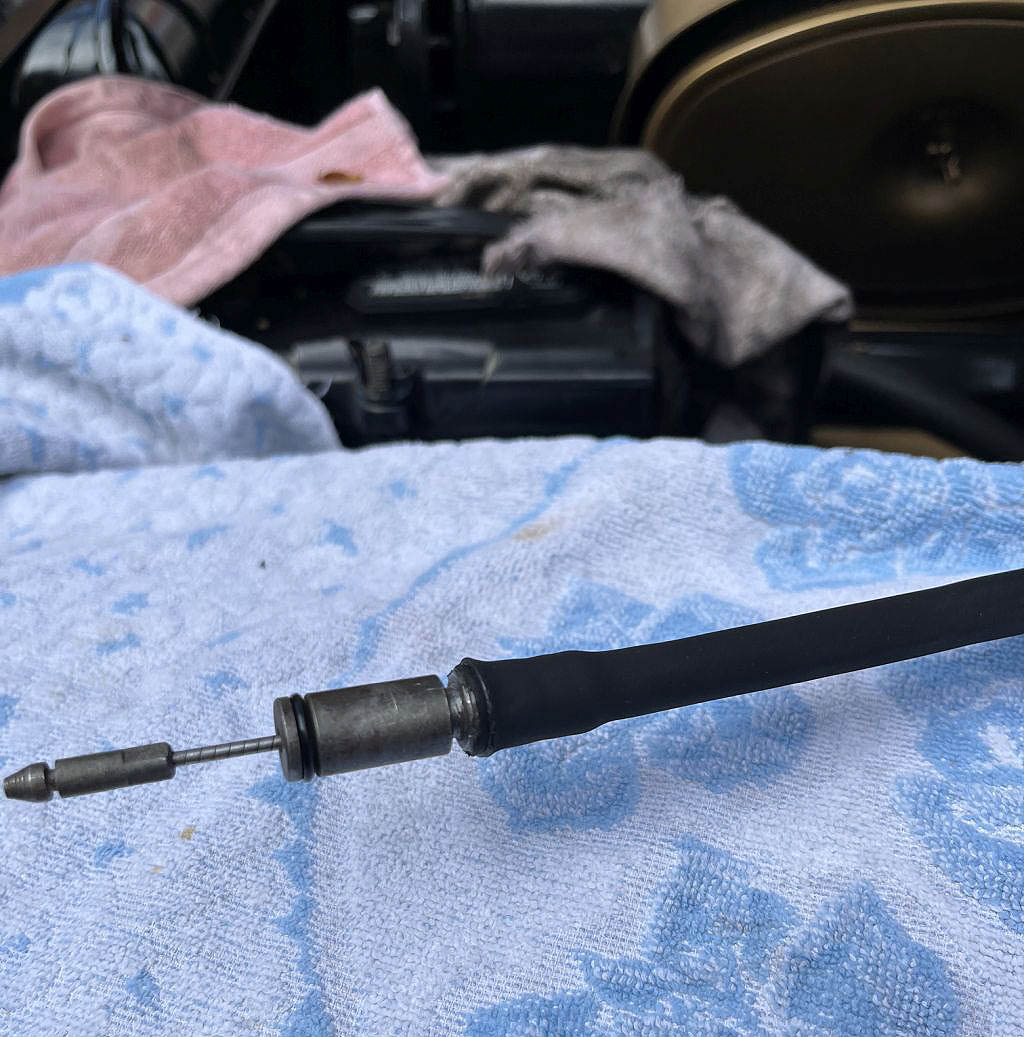
The
photo shows the finished job. It's a close match to the original
insulation. There is a layer of heat activated glue inside the wrap.
It stuck well and I have no initial concerns about durability.
I
got lucky on the re-install. The manual says to insert a screwdriver
into the cable opening in the transmission and push the shift lever
inside all the way back to low (easy, you can feel it move). Then
have a helper press and hold the R button for maximum cable extension
and insert it into the transmission. For me, it locked in right away.
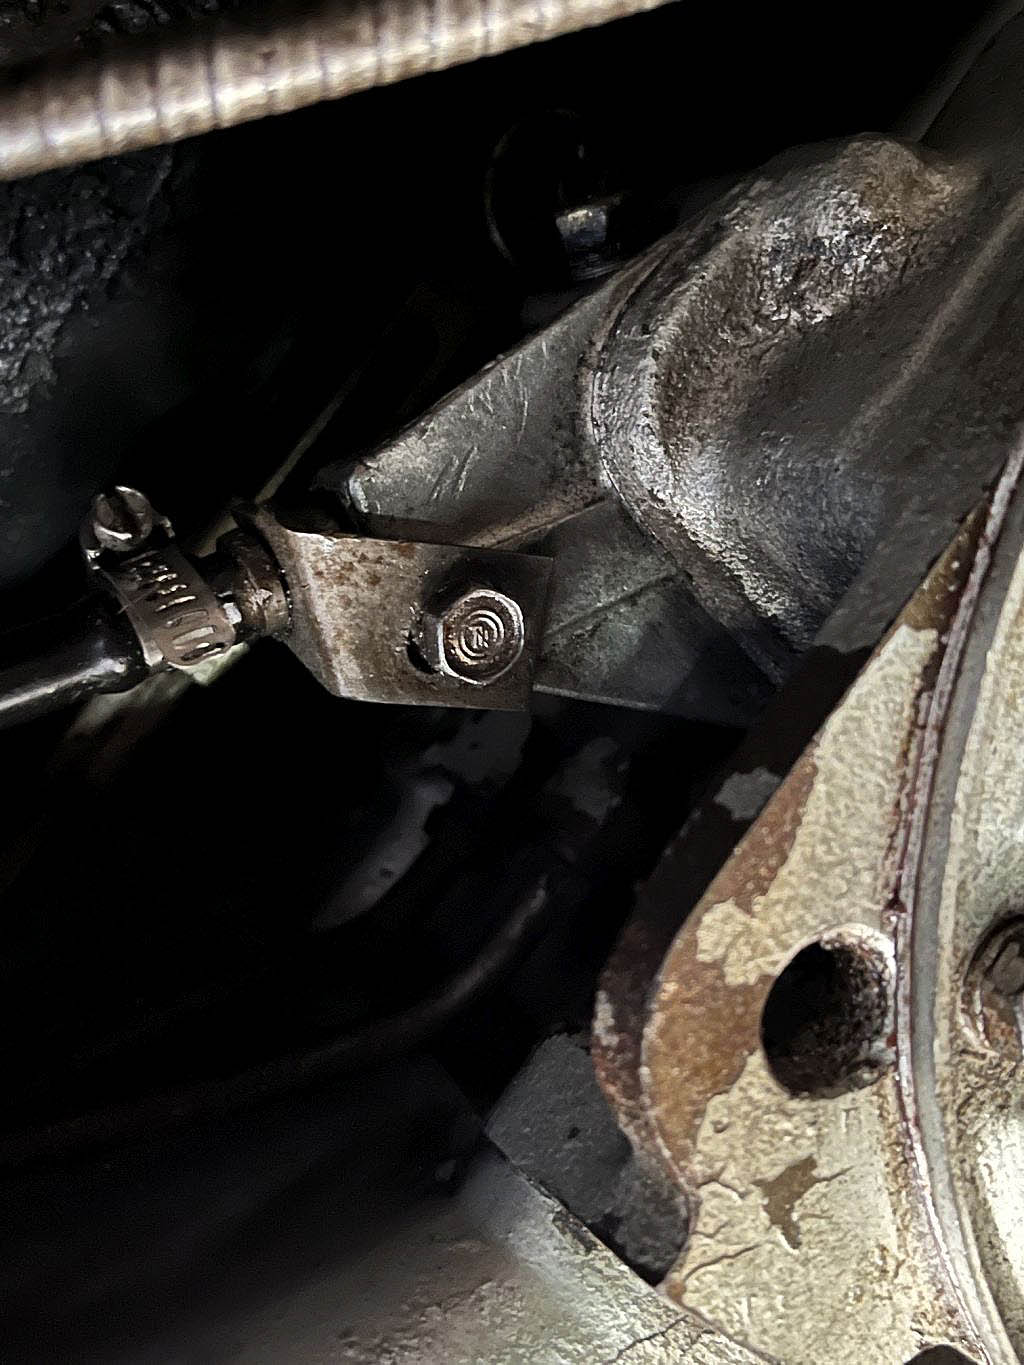
The in and out cable movement (gear selection and neutral safety
switch operation) are adjusted by a slot on the support bracket (with
the bolt in the photo). Part of the slot is visible. I tried to
duplicate that spacing. I did not remove the neutral safety switch as
the manual suggests and instead, connected an ohm meter to the
neutral switch terminal and a ground. The meter had a reading from
the start indicating the switch was connected. I didn't think there
was a way I'd get this done without 10 layers of drama. Darn, it
started in neutral and selected all the gears!
So,
the summary, I don’t think the repair looks any different that
the factory wrap, it is less expensive than a new cable and a new
cable would require much more work at the push button end to
install.
For
the aluminum torqueflites there are some repair differences.
According to the directions the thinner plastic cable insulation is
not removed but covered, there’s a different starting point for
the shrink wrap on the barrel (shown in the directions) and the cable
adjustment method (in the service manual) is different.